How To Do Concrete Coating: A Guide From Massachusetts Pros
"How hard can it be?" That's a question we hear often from homeowners researching concrete coatings for the first time. While there's no shortage of information online, the reality is that the concrete coating process is far more involved than it appears. Small missteps can lead to costly, long-term failures.
LC Visions Epoxy & Coatings believes homeowners should understand what's involved so they can make informed decisions and confidently work with experienced professionals. When you know what goes into a successful coating system, it becomes clear why professional installation matters.
From surface preparation that determines adhesion to timing the application just right, concrete coatings leave very little room for error. Below, we walk you through the process to help you understand how we work.
DIY vs. Professional Concrete Coating Installation
One of the biggest challenges is time. What looks like a weekend project can quickly turn into weeks once surface prep, weather conditions, curing schedules, and unexpected issues come into play. As professionals, we're trained to spot problems—such as hidden moisture or compromised concrete—that can cause coatings to fail before they bond properly.
We frequently get calls from homeowners asking us to fix peeling, bubbling, or delaminating floors installed just months earlier. In many cases, removing a failed coating and starting over costs more than having the job professionally installed from the beginning.
When you work with us, you're also getting access to commercial-grade materials, specialized equipment, and proven application methods, not retail kits.
Tools and Materials Used by Professionals
Retail kits are designed for ease of use, often at the expense of durability. The epoxy, polyurea, and polyaspartic systems we install are higher-solids, longer-lasting products engineered for real-world performance, but they require training and precision to apply correctly.
Here are some of the tools and materials we work with:
- Professional concrete cleaners and degreasers
- Crack repair and patching materials matched to the substrate
- Commercial-grade epoxy or polyurea base coats
- Decorative flakes for epoxy flake coatings
- Protective clear topcoats
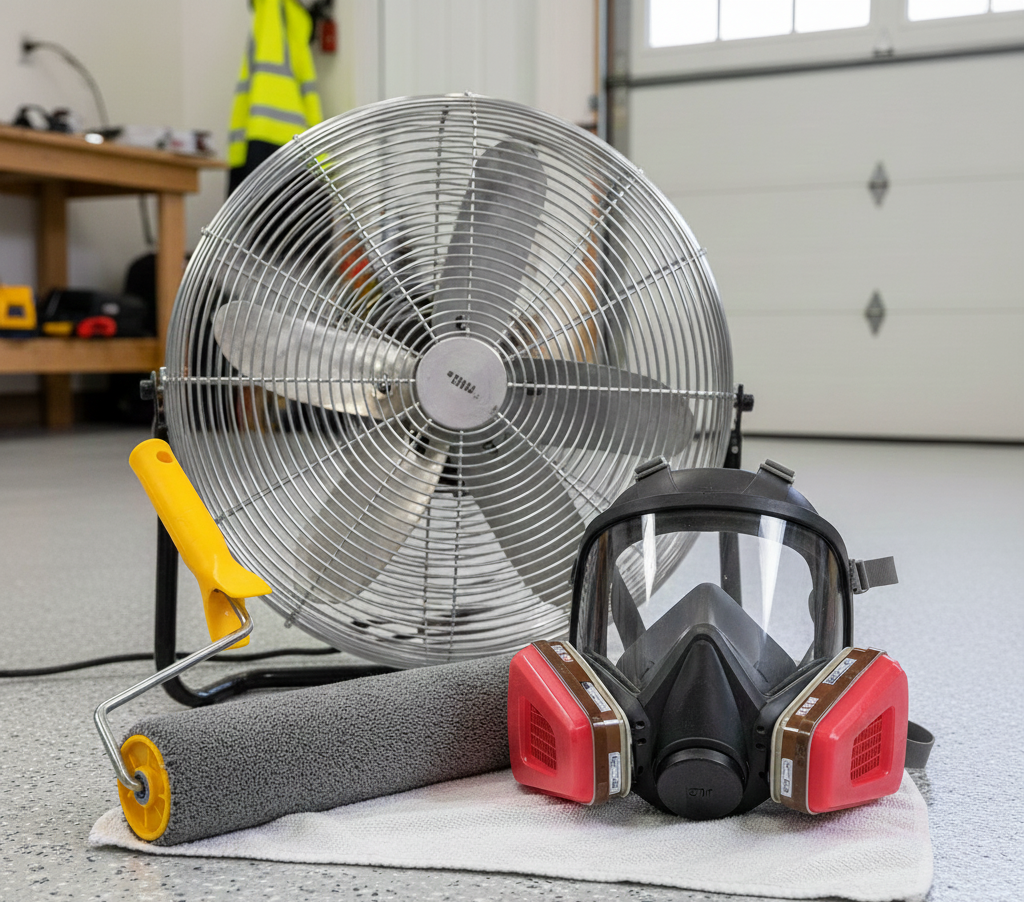
- Industrial mixing and application equipment
- Ventilation systems
- Proper safety gear, including respirators and chemical-resistant protection
We choose our materials because of their proven performance, durability over time, and safety in real-world conditions.
What the Concrete Coating Process Involves
When we install a concrete coating, preparation is the foundation of our process.
Surface Preparation
We begin by thoroughly cleaning and degreasing the concrete to remove contaminants that prevent proper bonding. Then comes mechanical surface preparation: opening up the concrete's pores to create the profile necessary for strong adhesion. This step is absolutely critical since inadequate surface preparation is one of the most common causes of DIY coating failure.
While acid etching is sometimes mentioned online, we rarely rely on it. Results can be inconsistent, especially on dense or previously sealed slabs. Mechanical preparation gives us the uniform profile coatings need to bond securely.
Next, we repair any cracks and surface defects with appropriate materials, allowing them to cure fully before proceeding. We also test for moisture, since even small amounts trapped beneath a coating can cause bubbling or delamination down the road. Our team doesn't move forward until we know that conditions are right.
Application and Timing
Temperature and humidity play a critical role in coating performance. We apply systems only within manufacturer-recommended ranges—typically between 60°F and 80°F with controlled humidity—to ensure proper curing.
Professional-grade coatings also have strict working times. Some systems allow 20 to 30 minutes, while fast-curing polyurea and polyaspartic products offer even less flexibility. This is where experience matters most, as there's little room for correction once application begins.
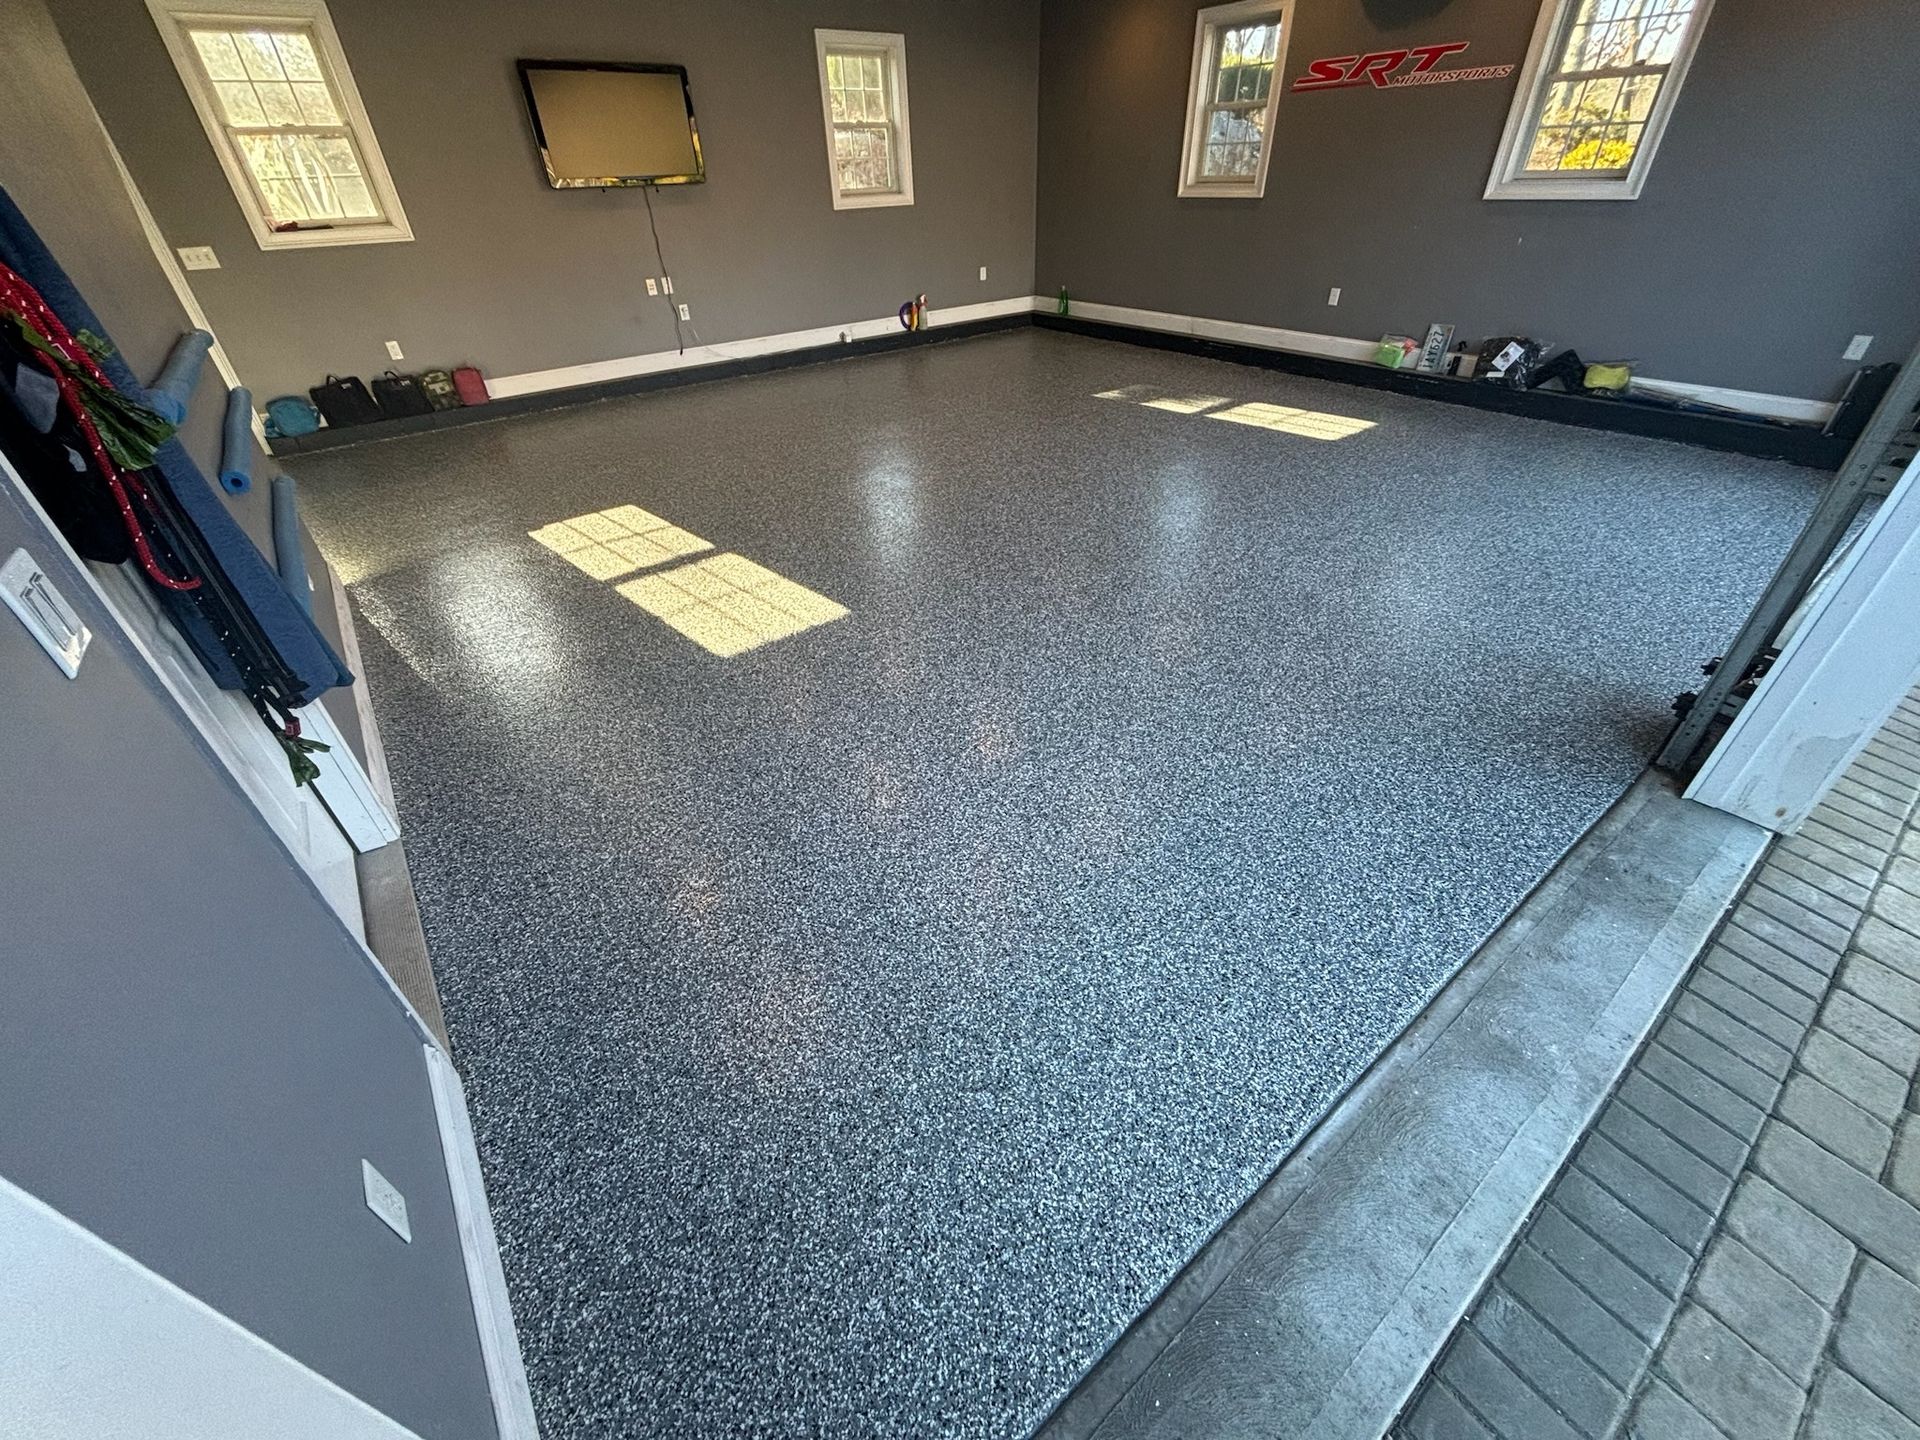
We apply each layer with consistent thickness and proper sequencing. For decorative flake systems, timing and technique are crucial to achieving a uniform coverage and long-term adhesion.
Curing and Final Results
Most coatings allow foot traffic within about 24 hours, but full curing takes several days before vehicles or heavy use are recommended. During this time, we monitor conditions closely to protect the integrity of the finish.
Proper ventilation, temperature control, and timing during curing help us deliver a durable, attractive surface that lasts for years.
LC Visions Epoxy & Coatings: Professional Results Every Time
When you understand what goes into a professional concrete coating, it's easier to see why experience, equipment, and process control make a big difference. While many homeowners start by researching DIY options, most ultimately choose to work with professionals to avoid costly mistakes and ensure lasting performance.
LC Visions Epoxy & Coatings takes pride in doing the job right the first time. If you're considering a concrete coating and want honest guidance and professional installation, we're here to help.
Contact us to discuss your space, goals, and the best solution for long-term results.